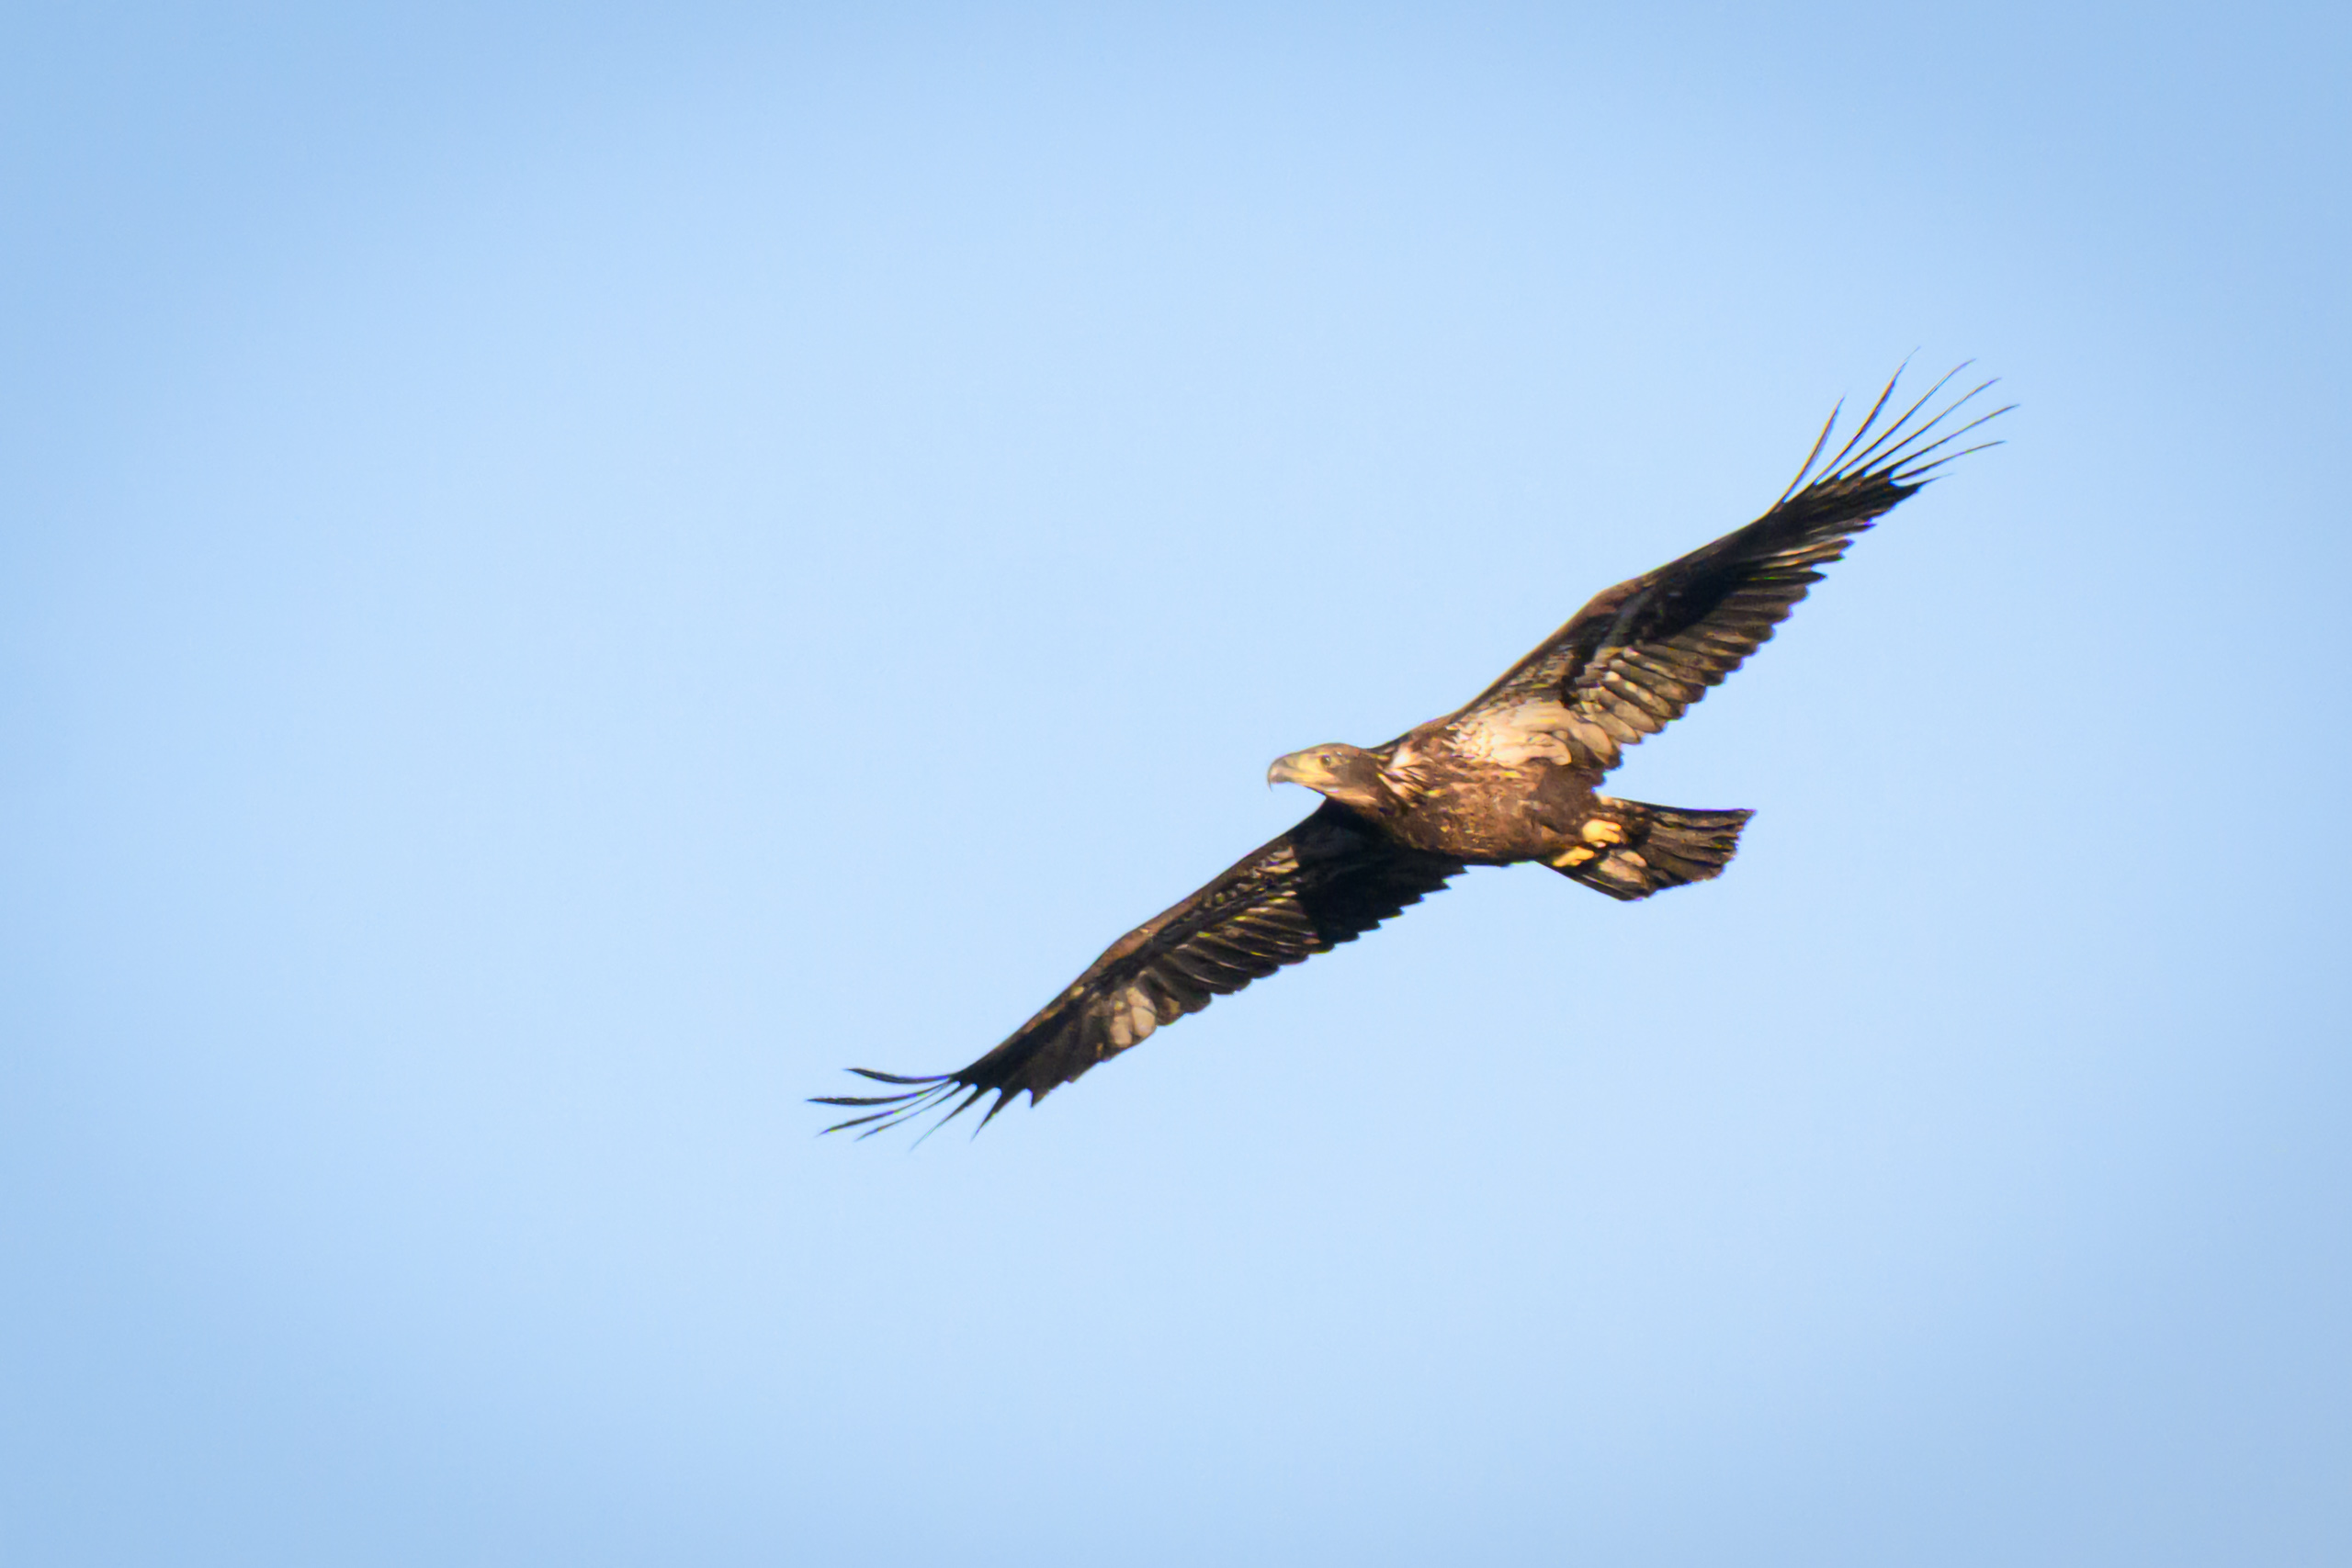
Birds are fast, agile, and unpredictable. But one of my biggest challenges has been getting their exposure right.
On my outings, birds move between water, shaded trees, and open sky. The light changes, too. A setting that works one moment can make the next photo too dark or wash out detail in white feathers.
I’m still learning, but here’s what has helped me.
My Starting Point
I shoot in manual mode with Auto ISO, I keep my aperture wide open, and set an ISO ceiling of 12,800. At dawn, I sometimes use shutter speeds slower than 1/1000s, accepting the risk of motion blur. As the light improves, I work toward 1/3200s–1/4000s for birds in flight.
Once I’m happy with my shutter speed, I adjust exposure primarily through exposure compensation. With Auto ISO, the camera changes ISO while I retain control of shutter speed and aperture, within the camera’s ISO limits.
When the Meter Gets Fooled
When I started photographing birds, I assumed the camera would handle exposure. I concentrated on framing and came home with dark birds against bright skies and white birds with blown highlights.
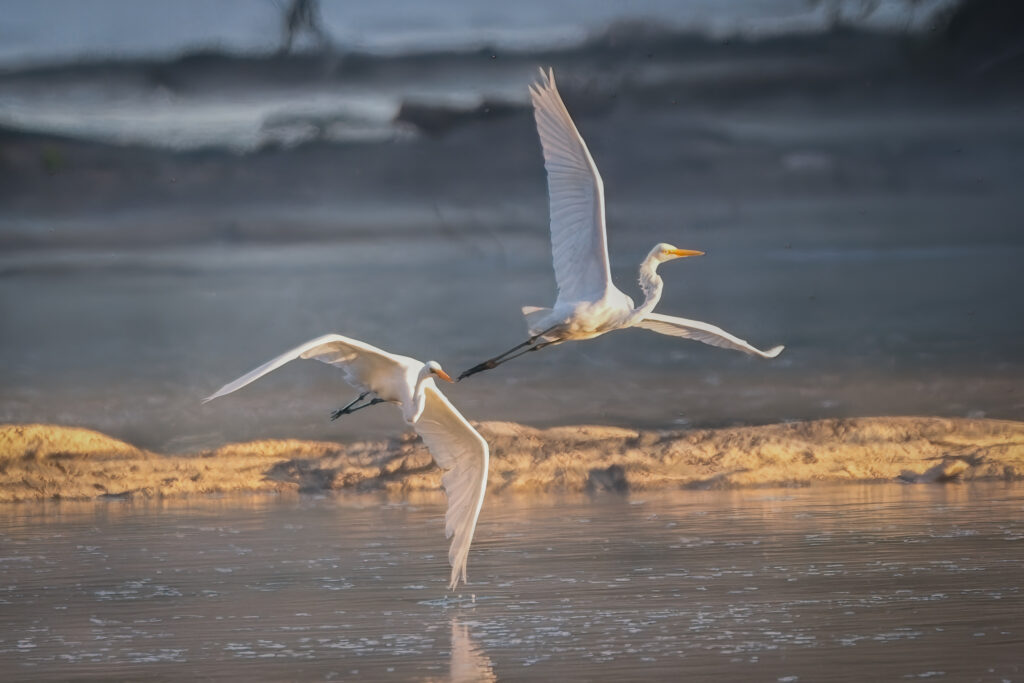
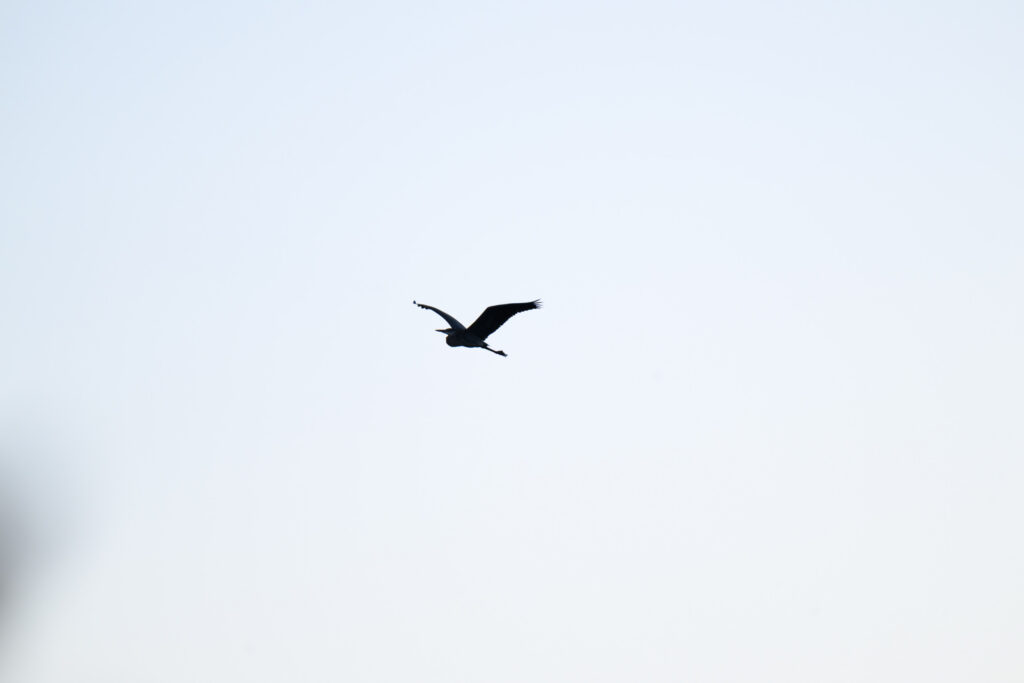
The meter evaluates reflected light, and a bright background can leave the bird underexposed. Getting the exposure right is only part of the challenge. I’ve also written about finding birds and getting them in focus at 600mm. Here are the five things to consider:
- Metering: Center-weighted metering helps when the bird occupies much of the center. A small bird surrounded by sky may still need compensation.
- Positive exposure compensation: Brighten the bird, but watch for clipped highlights.
- Light direction: When possible, stand with the sun behind you to light the bird.
- RAW capture: Give yourself more flexibility when editing.
- Slower shutter speeds: For a relatively still, perched bird, slowing the shutter lets Auto ISO drop. This can improve image quality and dynamic range, as long as the bird stays sharp.
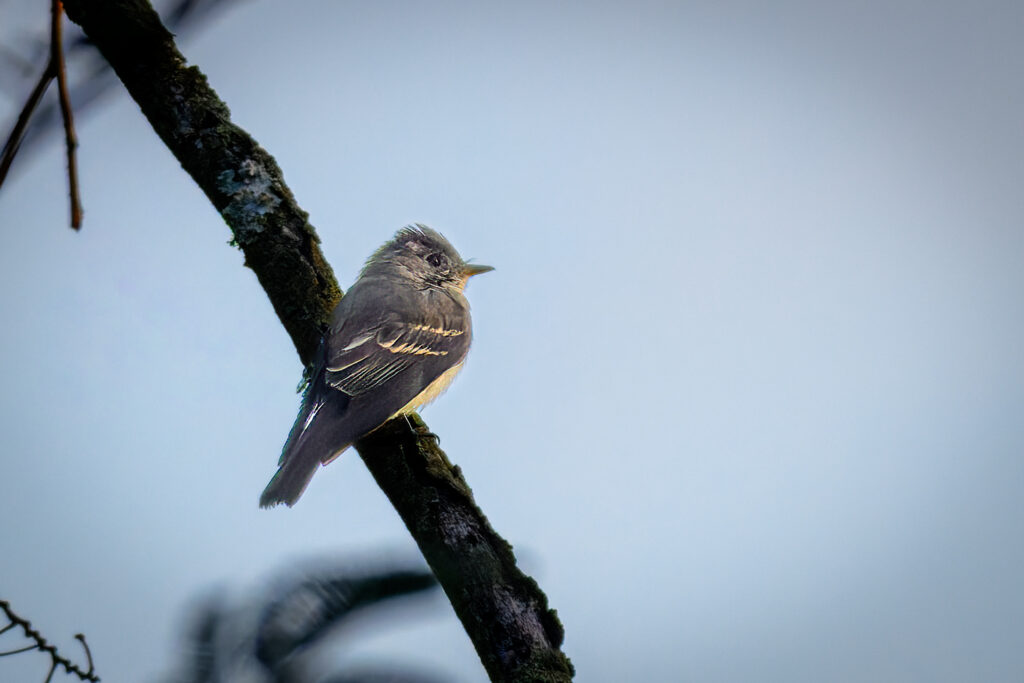
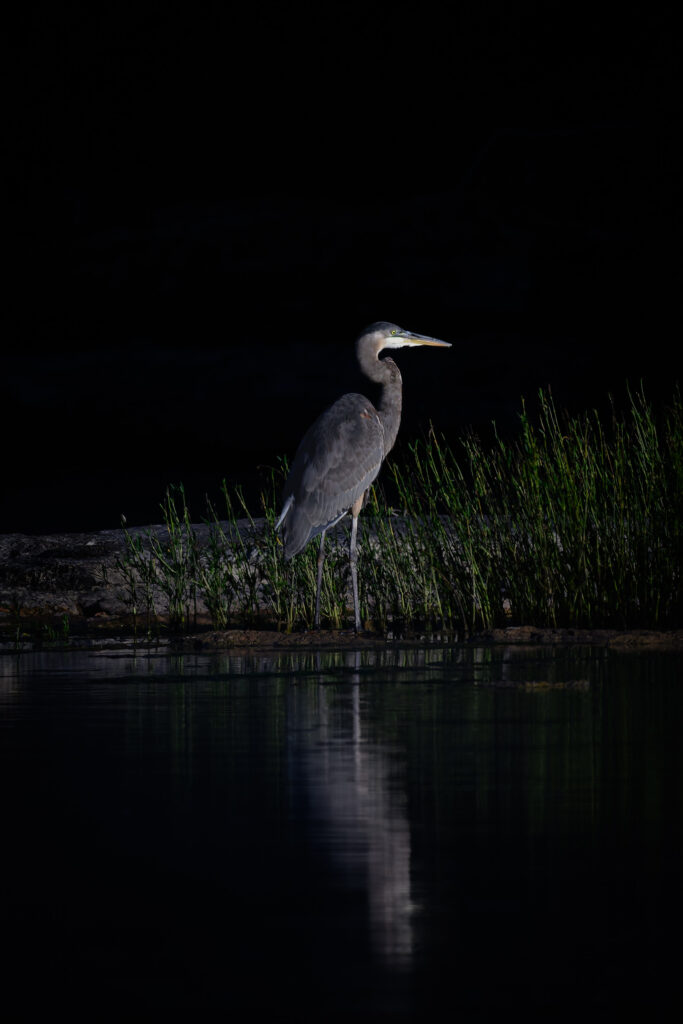
Protecting Feather Detail
Against shaded trees, white plumage can become overexposed.
- Watch the histogram and check the brightest feathers, aiming to preserve detail without clipping important highlights.
- Lower exposure using exposure compensation
- Highlight-weighted metering can help protect bright plumage, although the bird may still need exposure adjustments. If your camera doesn’t have highlight-weighted metering, use center-weighted. Also, reflections on water can influence the reading, so I check the subject itself.
- RAW files offer editing latitude, but you can’t reliably recover truly clipped feather detail. I learned that lesson the hard way.
Reacting Faster
On my Nikon Z8, I’ve assigned the video-record button to recall highlight-weighted metering and −1 stop of exposure compensation. It’s a starting point for bright birds, not a guaranteed setting.
For birds against bright skies, I’m practicing adding positive compensation when needed. I may create a second shortcut for those situations.
Bird photography remains a work in progress. Learning from missed shots—and occasionally getting everything right—is part of what keeps me coming back.
Leave a Reply