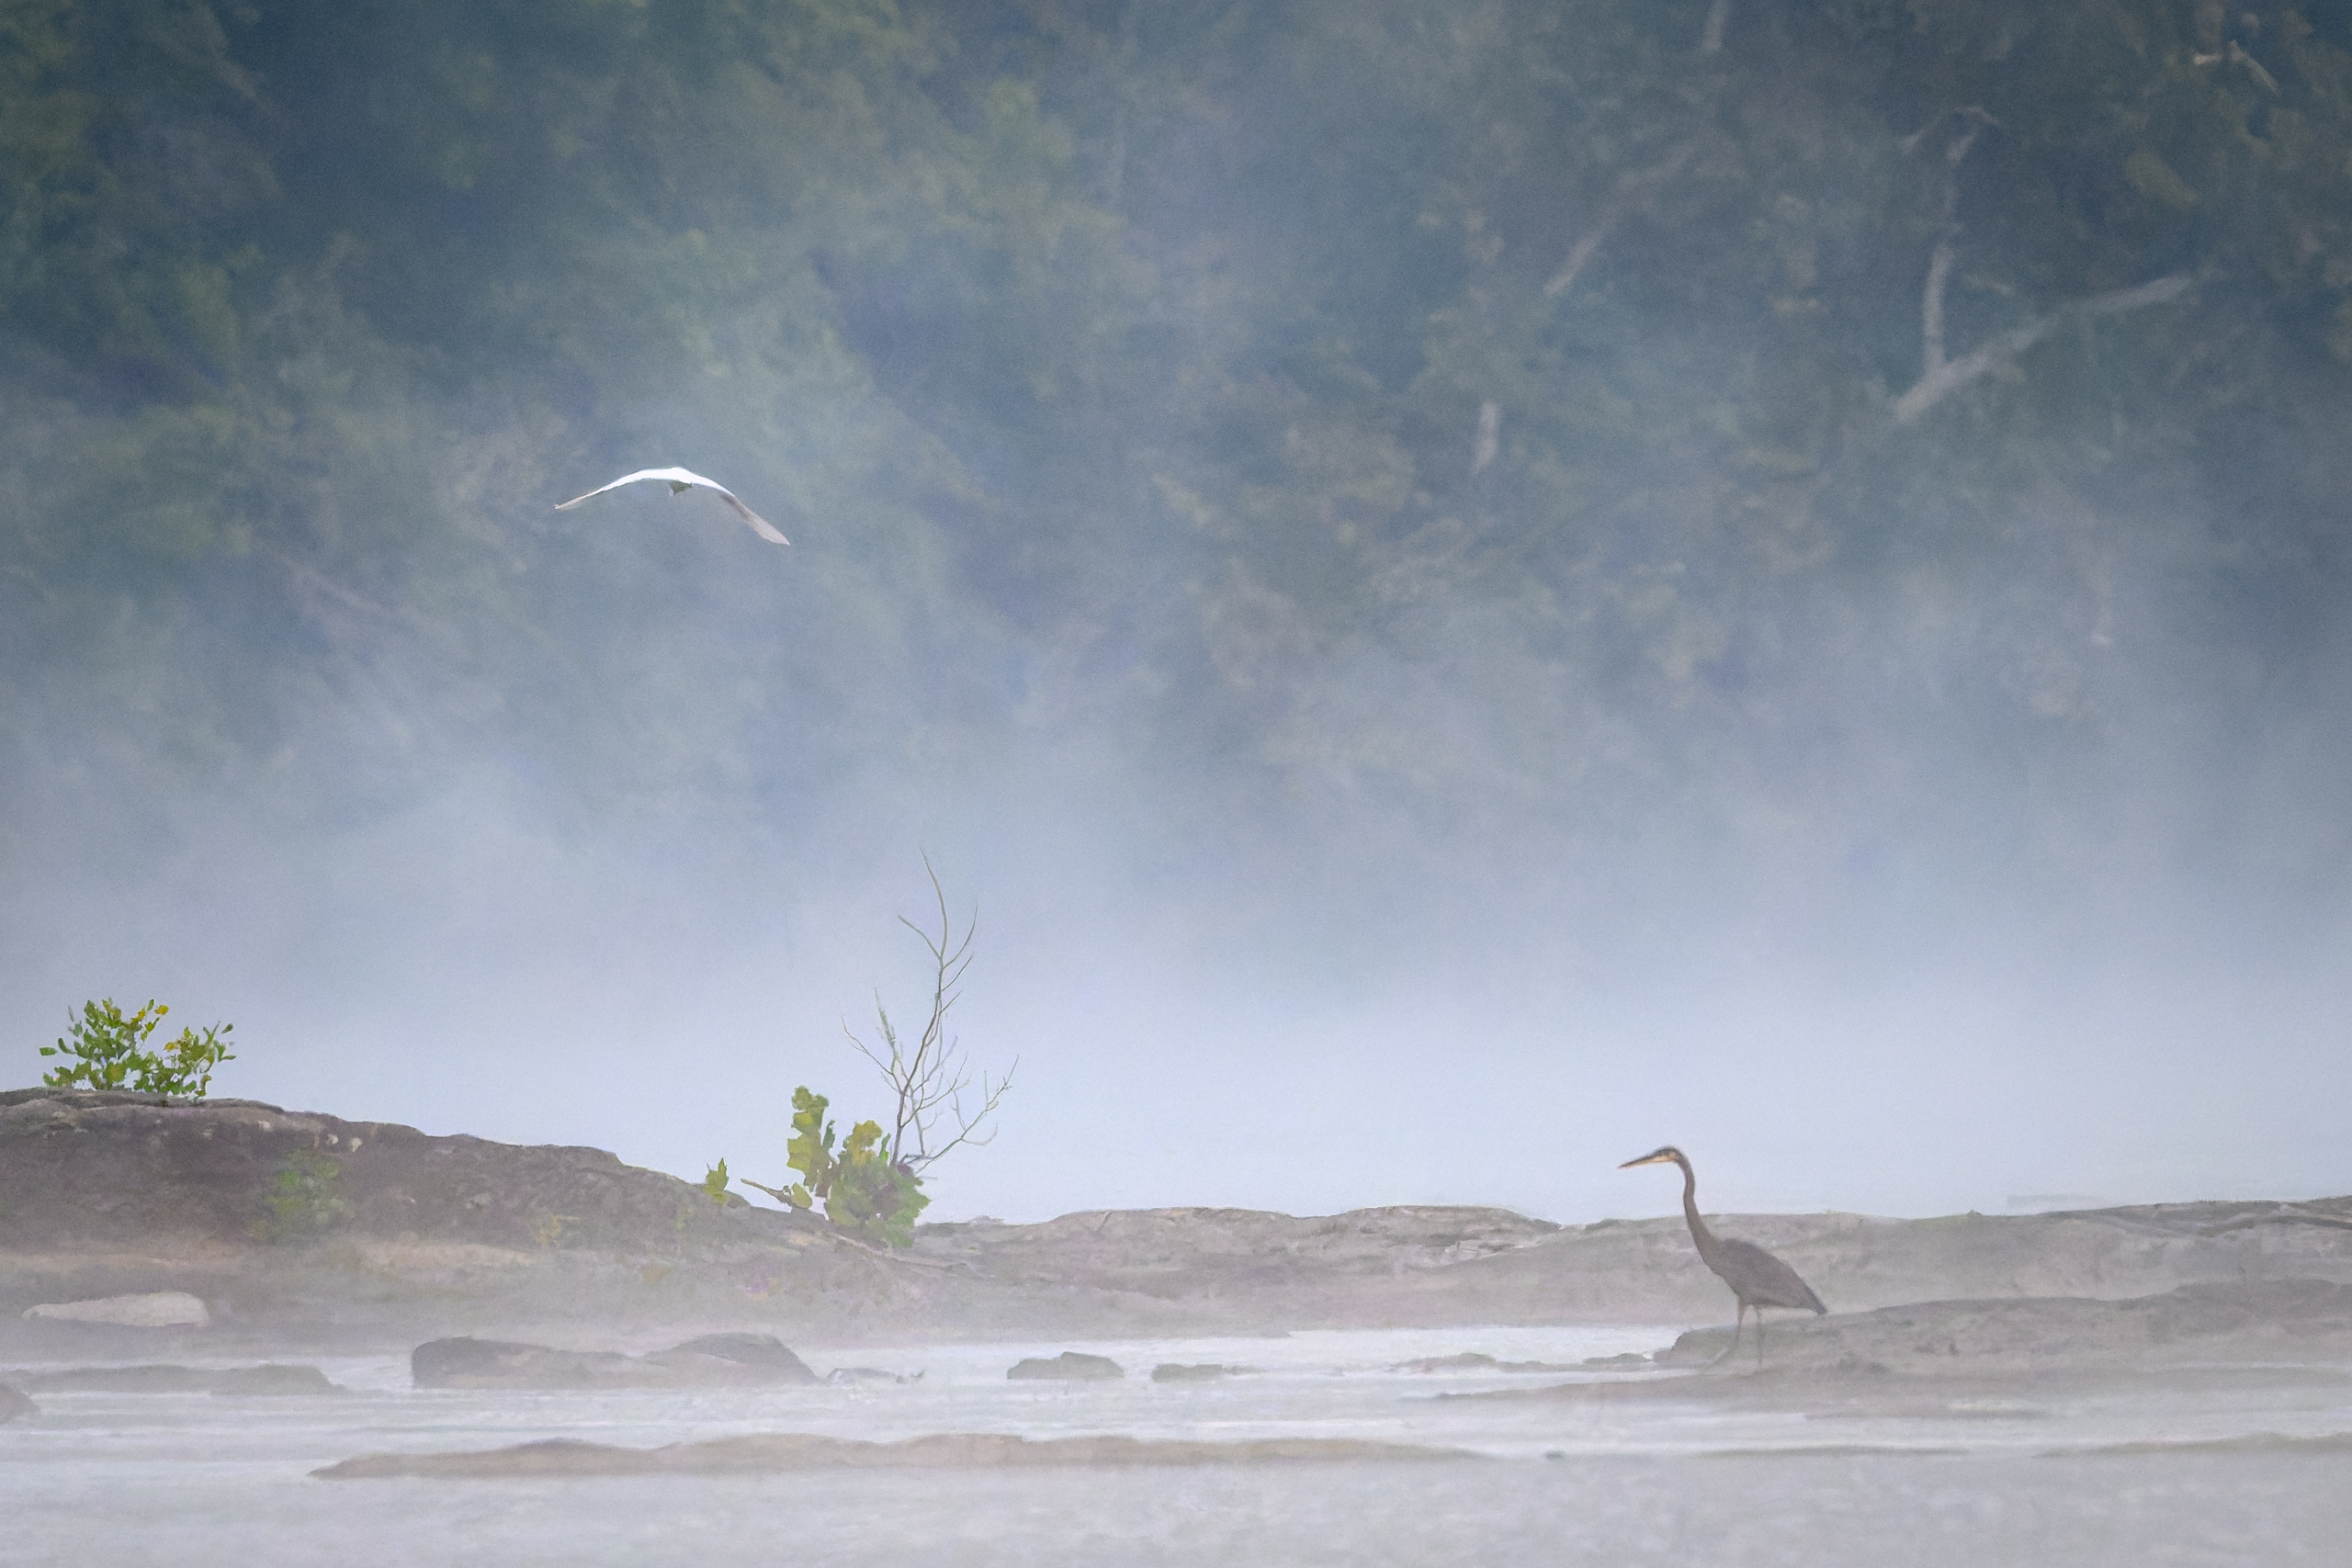
Have you purchased—or are you considering—a 600mm lens for bird photography? A few techniques can help you find birds faster and bring home more keepers. Here are three considerations that have helped me in the field.
Shutter Speed
Match your shutter speed to the bird’s movement. For a large bird in flight, such as a Great Blue Heron, 1/1250s can be a starting point, with faster speeds offering more protection against motion blur. For fast-moving songbirds, try 1/2000s or, when the light allows, 1/3200s.
For hovering hummingbirds, 1/4000s to 1/8000s can reduce wing blur, although even these speeds may not freeze every wingbeat. Perched birds often allow much slower shutter speeds.
For something creative, try panning with a flying bird at around 1/60s. Expect plenty of misses, but a successful frame can combine a blurred background with a strong sense of movement.
ISO
Bird photography has taught me to embrace high ISO. Early morning and evening light can produce beautiful photographs, but combining low light with fast shutter speeds challenges any camera.
I use manual mode with Auto ISO. I choose the shutter speed and aperture, let the camera adjust ISO, and use exposure compensation to brighten or darken the image. Managing one exposure adjustment helps me react quickly.
My Auto ISO ceiling is 12,800. Once the camera reaches that limit, positive exposure compensation cannot increase ISO further. If the photograph is still too dark, I need to slow the shutter, open the aperture if possible, or raise the ceiling.
Noise reduction can help, but results depend on the original photograph. Several images in my other articles (Great Blue Heron in near darkness in this article) were taken at ISO 12,800; you’ll find the settings beneath the photos.
Finding the Bird
At 600mm, the narrow field of view can make locating a small bird frustrating—especially when it’s flying.
With a zoom lens, start wider. I usually find the bird at around 300mm, then zoom toward 600mm while keeping it in the frame. If I’m struggling, I zoom out farther.
Branches can also distract autofocus. A single-point AF area can help you target the bird more precisely. If autofocus still struggles, manually focus close to the bird’s distance, then try autofocus again.
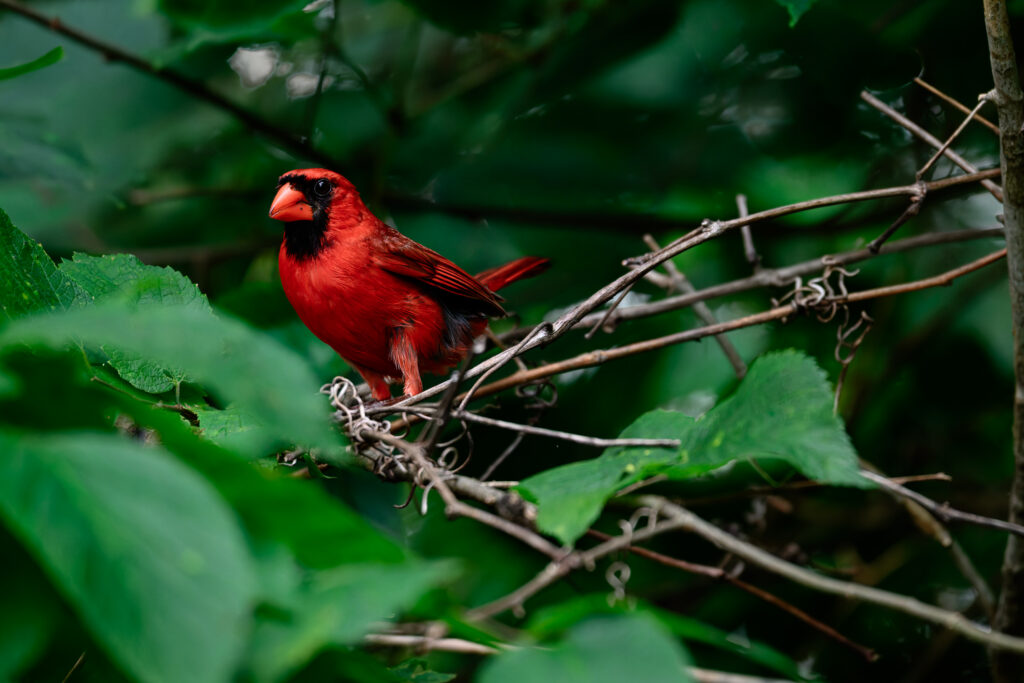
These techniques take practice. Getting comfortable with the controls means spending less time searching and adjusting—and more time ready for the photograph.
Leave a Reply